When you are trying to Root OnePlus 8 or those devices which have Android Version 9.0 or above, then you need to be careful while rooting the OnePlus 8 Devices. Magisk method is secure and fastest, and there is no risk of losing the data and critical files from the device. In this guide, we will see how to Root OnePlus 8 with Magisk. You can also use this method to Root OnePlus devices.
Magisk is not just a free of cost tool, but also it saves your time and minimizes the risks of damaging phones.
There are two requirements before rooting the OnePlus 8 with Magisk.
Table of Contents
Requirements to Root OnePlus 8 With Magisk
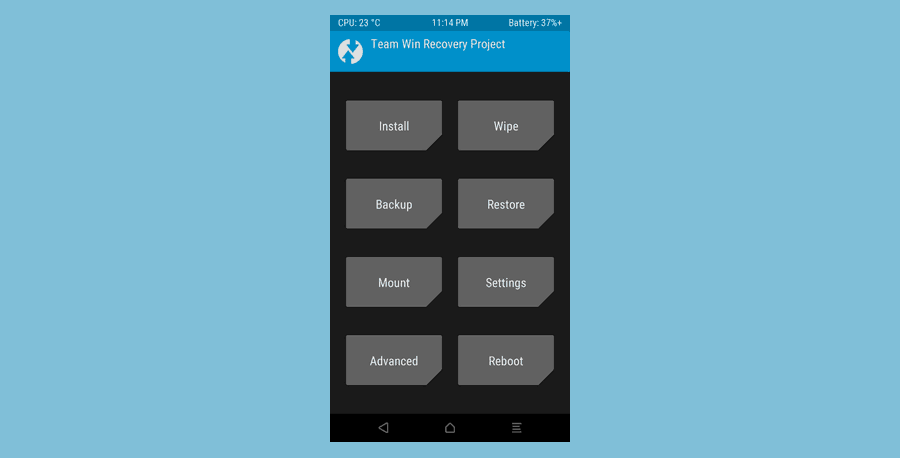
- You need to Install TWRP Recovery on your OnePlus 8 Mobile Phone.
- No worry, we will guide you on how to install TWRP.
- You have to Install ADB and FastBoot Tools on your PC.
The last Requirement is you have to Unlock the Bootloader on OnePlus 8.
Install ADB & FastBoot
This is the first step we will consider where you need to install these tools on your Windows. You can easily install these tools from the official website of XDA, or you can read our guide to Install ADB & FastBoot.
Here is the complete guide to download and Install ADB & Fastboot. We recommend that follow step by step because it is essential for rooting OnePlus 8 Phone.
Read: Install ADB & FastBoot on Windows
Here are some next steps.
- Open the folder where you installed the ADB & FastBoot. Here we are expecting that you have done with the downloading and installation part.
- Usually, the ADB is installed in the Windows Installation folder. In our case, it is C:/.
- In this Folder, Press Shift Key + Right Click.
- Now Click on the Command Prompt. You will see this option there.
- Later on, you have to enter the commands.
Download TWRP Image File – Latest TWRP For OnePlus 8
Go to the official website of TeamWin TWRP and go to the devices’ options in the TeamWin Site.
Here you have to enter the exact model of your mobile phone. For example, in the case of OnePlus 8. Type OnePlus 8 and download the .img file.
Wait for a few days if you cannot find your mobile phone image file. Moreover, we will help you if you want us to find an img file for your smartphone. Better is to download from the TeamWin website.
Make sure to save the file in the C:/adb. In the Folder where you have installed fastboot and ADB.
Enable USB Debugging in OnePlus 8
We have already detailed content on how to enable and disable USB Debugging in Android. But we can discuss it here again. One of the methods is Go to the Settings of OnePlus 8 and Go to Build Number. Tap a few times on Build Number at least seven times.
Then go the Settings Again. Find the Developer Options. Open it and Enable the USB Debugging in OnePlus 8.
Read this guide, if you find any difficulty to enable or disable the USB Debugging.
Type Commands
In this step, the command prompt you already opened in the above second step. Write some command there and enter after typing each command. Again we can update you here that Go to the install ADB and FastBoot Folder. Shift and Right-click press it will show you the option of Powershell Window.
Click on this option, and it will open the CMD (Command Prompt).
Types these commands:
adb reboot bootloader fastboot flash recovery twrp.imgHere make sure the twrp image file name should be twrp.img.
fastboot reboot recoveryAfter pressing this command, your device will reboot. Till now, we are done with the Installation of TWRP Recovery on OnePlus 8 Phone.
Now We have to Install the Magisk.
Installation of Magisk File
In this step, you have to install the file of Magisk and Install it into the Computer. Here is the step you need to follow.
Download Link:
You can also download it from the XDA Developer forums.
After downloading the file. You will get the Magisk file in Zip File. Save this Zip File in the Folder of ADB & FastBoot.
Till now Just Save the Zip File in the ADB & FastBoot Folder.
Write More Commands
Go Back to the Command prompt and write this command. This command will help to push the Magisk from PC to Mobile. Make sure your OnePlus 8 is connected with the laptop.
adb push magisk-vXX.X.zipGo to the OnePlus 8 Phone and Find the Zip Folder of Magisk in your Phone. Because by using that command, the file is transferred from PC to OnePlus 8.
Now Flash the .Zip File using TWRP Recovery. That’s it.
Reboot your OnePlus 8. After Reboot, your phone will come in a rooted condition, and you can do whatever you want.
Final Words About Root OnePlus 8 With Magisk
This is the safest method and secures, which helps in saving your device information and data. If you want to use any other way to Root, then You can read here to Root OnePlus 8 in a single click.
Your suggestions are highly appreciated.


 with Data Analytics")


