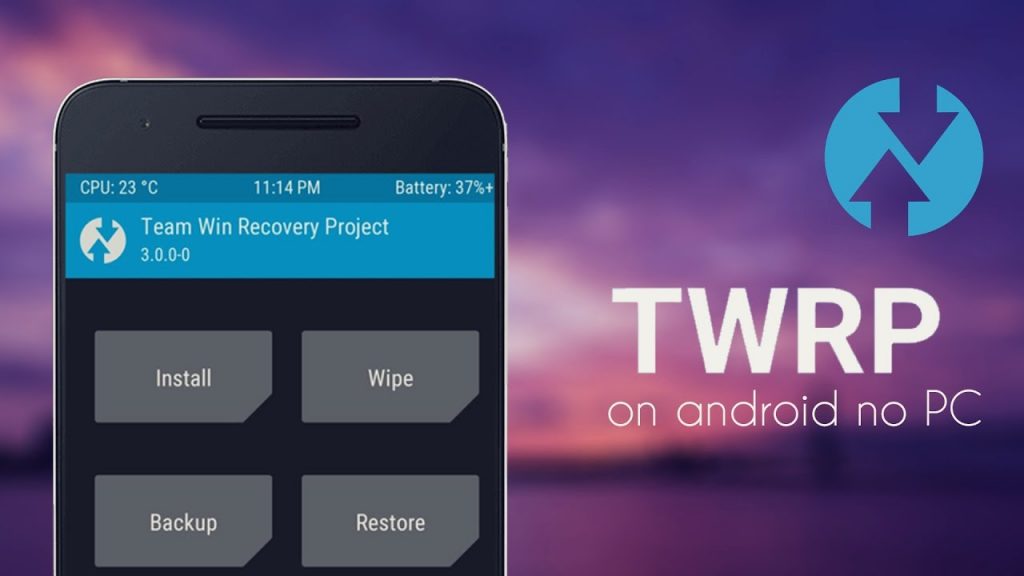
How To Download Latest TWRP Recovery On Any Android: Team Win Recovery Project (TWRP) is an open-source custom recovery for Android devices. It gives a completely touchscreen-based interface that permits clients to introduce outsider custom ROMs like LineageOS, Resurrection Remix, and so forth Plus, it has additionally been used to Root Android through SuperSU, streak piece, mods like Magisk or Xposed, and take Nandroid reinforcement. Prior, clients needed to utilize Windows PC to streak TWRP yet not any longer! You can now introduce TWRP without a PC also.
It is, thusly, frequently liked over the renowned ClockworkMod (CWM) custom recovery. In this simple tasks guide, we’ll talk about how to introduce TWRP Recovery without PC and Root. Prior to continuing further, it has prescribed to reinforce your information.
This has on the grounds that a debacle can thump on your entryway all of a sudden, and thus you ought to arranged all of the time with a reinforcement of your present framework. You can track down different instructional exercises online on the most proficient method to introduce TWRP on Android. However, this guide is completely unique.
Here you won’t need a PC for introducing TWRP on Android. We won’t utilize the Odin apparatus or any product for blazing TWRP without a PC on any Android gadget. Likewise, regardless of which Android gadget you have, a cell phone, tablet, console, and so on.
How To Download Latest TWRP Recovery On Any Android
In the below you can find the latest methods to download the latest TWRP recovery on any android:
- Official TWRP App
- Termux App
1. Official TWRP App
From the outset, we’ll utilize the authority TWRP application to introduce the custom recovery document on any Android telephone.
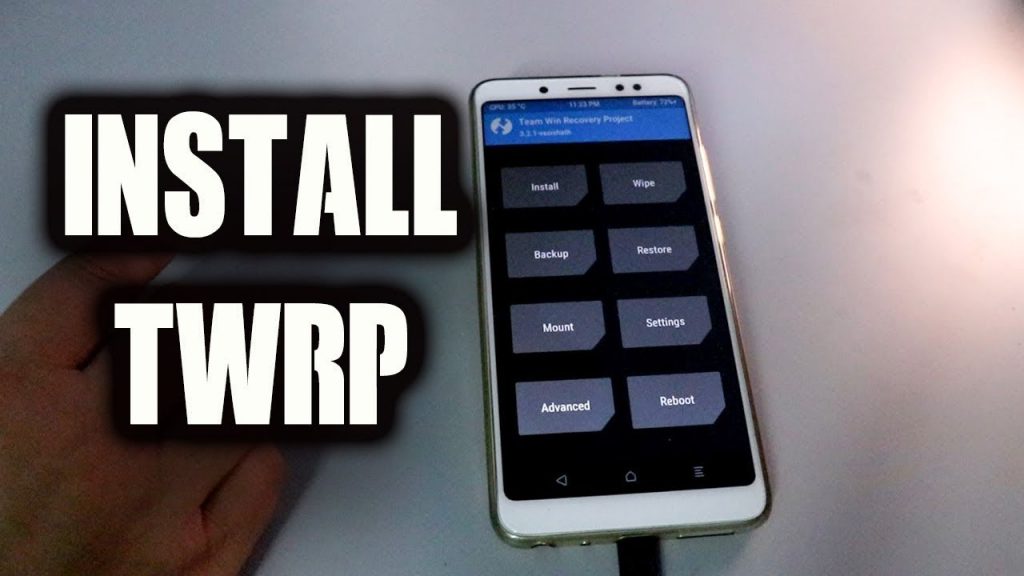
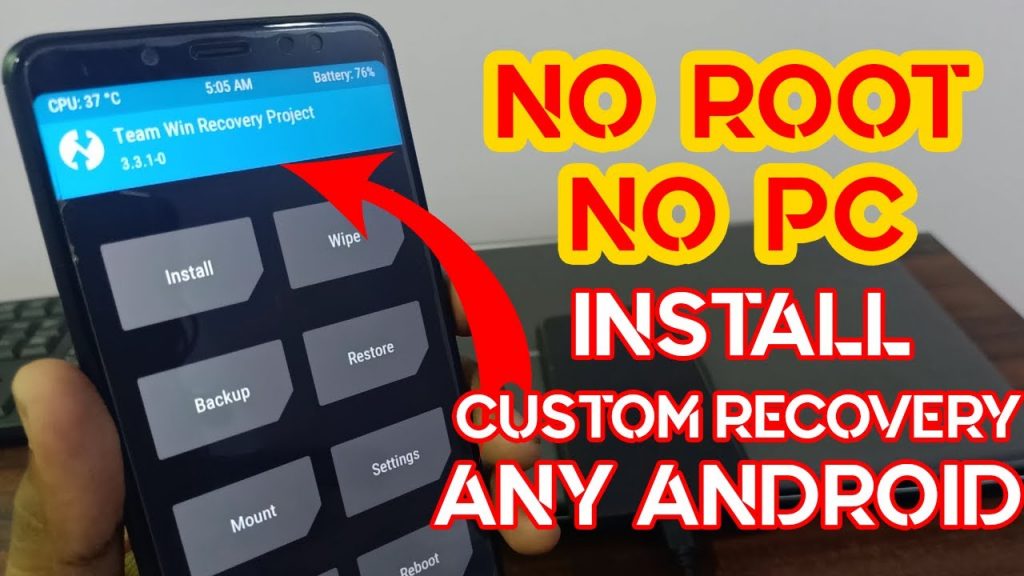
Steps to Install TWRP Recovery without PC
- From the start, root Android utilizing the Kingoroot application.
- Download and introduce the authority TWRP application from the connection given previously.
- Send off the application and tick every one of the three checkboxes displayed to acknowledge the agreements. Then, at that point, press OK.
- When you acknowledge agreements, the TWRP application will additionally request conceding root access.
- So click on Grant on the Superuser popup.
- Prior to blazing the authority TWRP recovery on any Android telephone, it is important to reinforcement your present stock recovery.
- This is energetically suggested since, in such a case that you run over any trouble while blazing TWRP, then, at that point, you can without much of a stretch return your current stock recovery.
- For taking reinforcement, click on the Backup Existing Recovery choice from the fundamental menu of the TWRP application.
- On the following screen, click on the Backup Recovery choice.
- Furthermore verify the reinforcement by squeezing OK.
- The reinforcement cycle will require a significant stretch of time to finish.
- So be patient and stand by.
- A duplicate of the current recovery picture will be saved money on your telephone’s inside stockpiling or SD card when it finishes effectively.
- You can reestablish this recovery utilizing the TWRP Flash choice from the application.
- Simply look for your telephone model from the rundown and select it.
- In the wake of choosing the Android gadget, you will be requested to pick a TWRP variant from the rundown from twrp.IMG records.
- We suggest choosing the most recent adaptation of TWRP, which will be first on the rundown.
- Confirm the glimmering by squeezing Okay.
This will begin the most common way of introducing TWRP without a PC. - It will barely finish inside a couple of moments.
When the blazing finishes, the TWRP application will show a message saying Flash finished effectively. - This is the means by which you can introduce TWRP without a PC utilizing simple tasks.
Also, Read: How to Root and Unroot Samsung Galaxy Note 2
2. Termux App
Here, we’ll use the ADB and Fastboot orders utilizing the Termux application. This system is a touch more confounded and requires two Android phones. We should check the point by point necessities for this technique out.
Requirements
- One Rooted Android telephone with Magisk introduced (have phone).
- Another Android telephone with an opened bootloader (target phone).
- OTG connector or USB information link.
Steps to Install TWRP without PC
- Send off Magisk Manager on the Android phone with root access.
- Go to the downloads segment and type ‘adb’ in the pursuit tab.
- Download and Install the ADB and Fastboot for the Android NDK module.
- Upon effective establishment, click on the Reboot choice to initiate the module.
- Download TWRP recovery.img record for your Android gadget.
- Try to download the TWRP recuperation in IMG design.
- Place the downloaded document in the Download organizer on both Android telephones.
- In addition, rename the record to ‘twrp.’
- Moreover, download and introduce the Termux application on your established telephone.
- Empower the USB troubleshooting mode on your objective telephone.
- Interface both the Android gadgets to one another utilizing an OTG connector or USB information link.
- When you associate both the telephones, a USB troubleshooting message will spring up.
- Simply click on the Allow button.
- On the off chance that such a message doesn’t show up, then, at that point, eliminate and reconnect both the gadgets.
- Send off Termux application on the established Android telephone.
- Presently we’ll utilize a couple of orders to streak TWRP utilizing the Termux application.
Steps to boot into TWRP Recovery on Android
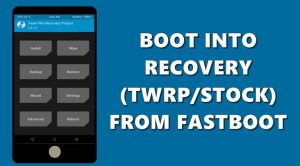
- Download and introduce the Recovery Reboot application.
- Send off the application and tick the I have perused and acknowledge the terms.
- Then, at that point, click on confirm.
- To enter TWRP recuperation mode, click on the Recovery choice.
- Click on Yes to confirm.
- When you press Yes, a popup will seem to give Superuser authorizations.
- So click on the Grant choice.
- This will boot your Android telephone into TWRP Recovery mode.


 with Data Analytics")


